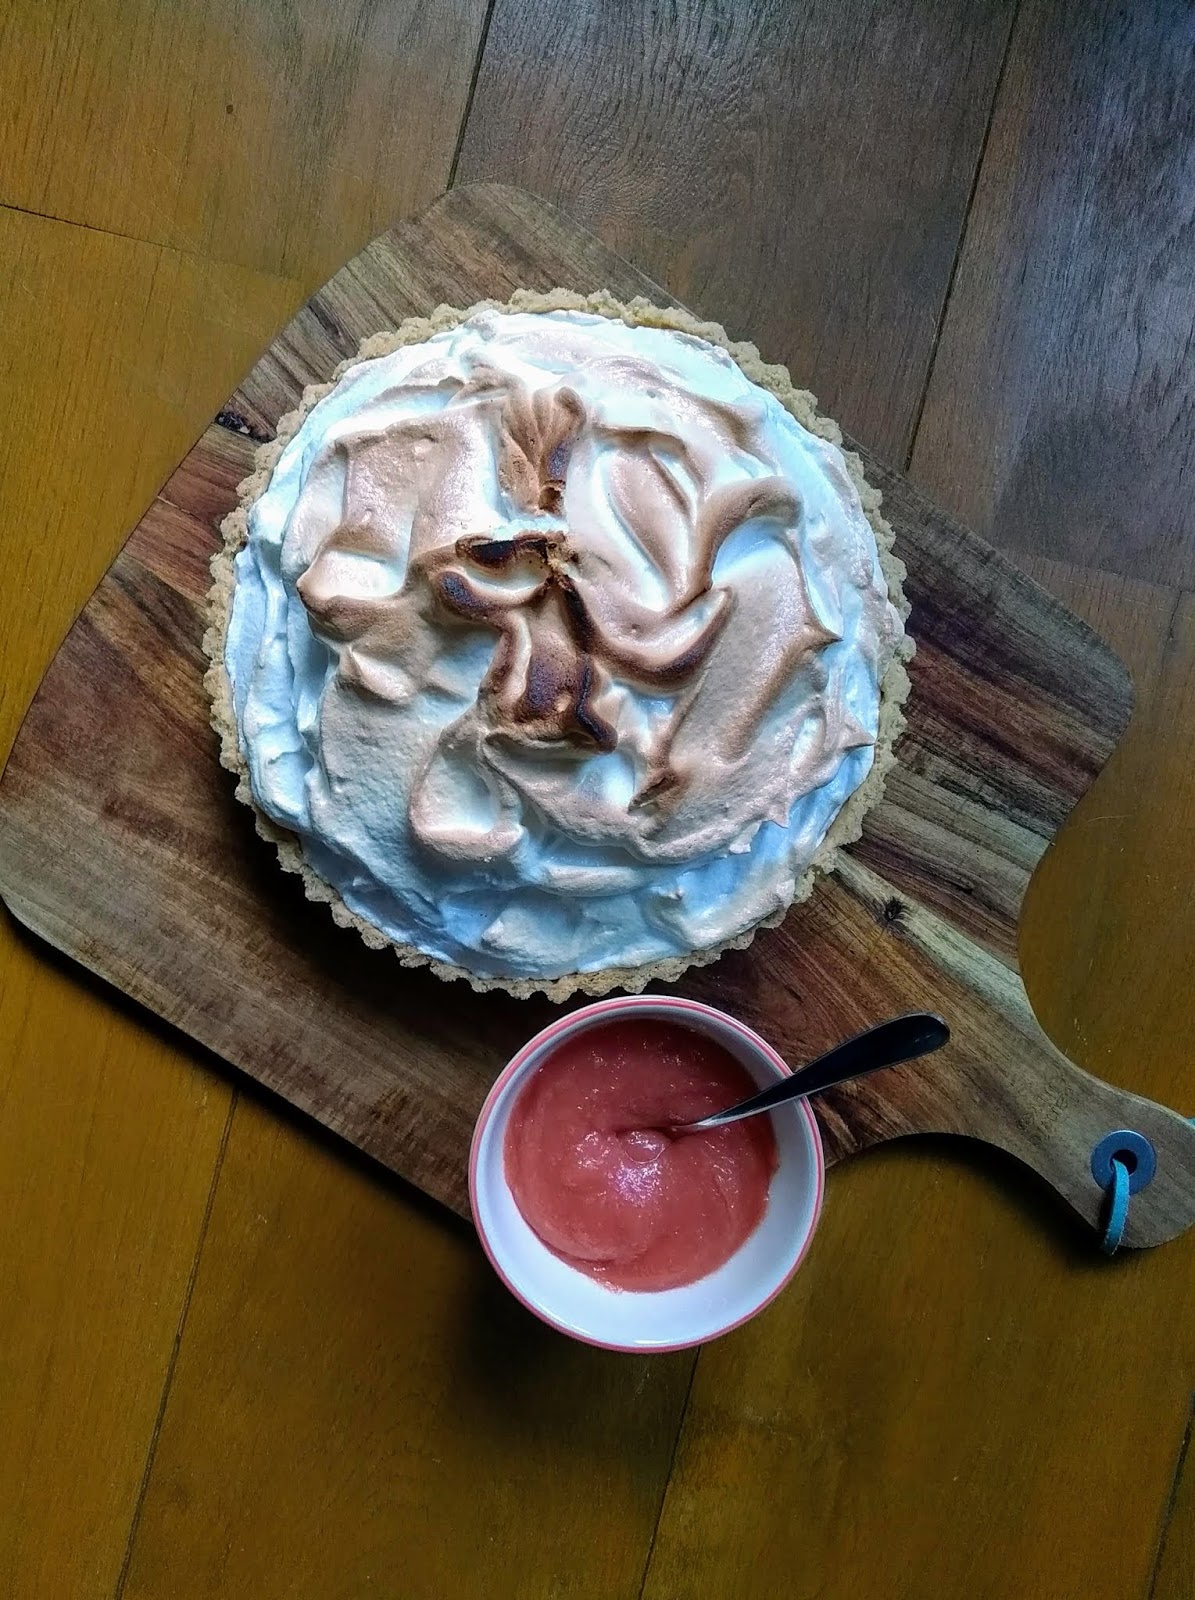
Gooseberry Meringue Tart
When I was little we used to go to a pick your own. We would go every summer. You'd pick up your little cardboard basket and then go off into the fields and fill them up with all the fruit. Strawberries were an obvious favourite. My mum tells the story where she once dressed me in white when we went to the pick your own. By the end of the trip my lovely little white summer dress was very much pink stained because I was eating as many as I put in the basket. Who can blame me? I think I was two or three and lets be honest even the adults couldn't resist sampling a few!
Strawberries weren't the only thing available at pick your own you could find also find asparagus, broad beans, peas as well as a whole range of other seasonal berries and rhubarb. One of my favourites was gooseberries. Green, striped and slightly hairy they are tart and sour.
Gooseberries are one of those fruits that can go in sweet or savoury dishes. In the savoury category a classic combination is mackerel and gooseberry sauce but they also work great in a chutney. For sweets my first thought is gooseberry crumble. This is what my mum used to make with them. Perfect straight from the oven after our Sunday dinner with a splash of cream or even better a scoop of vanilla ice cream. They are great in cakes or pies and a gooseberry compote can be folded into sweetened whipped cream for a delicious fool (and if you freeze it you have a gooseberry ripple ice cream!). In my gooseberry recipe research I also found a recipe for a gooseberry infused vodka which you know I am going to try!
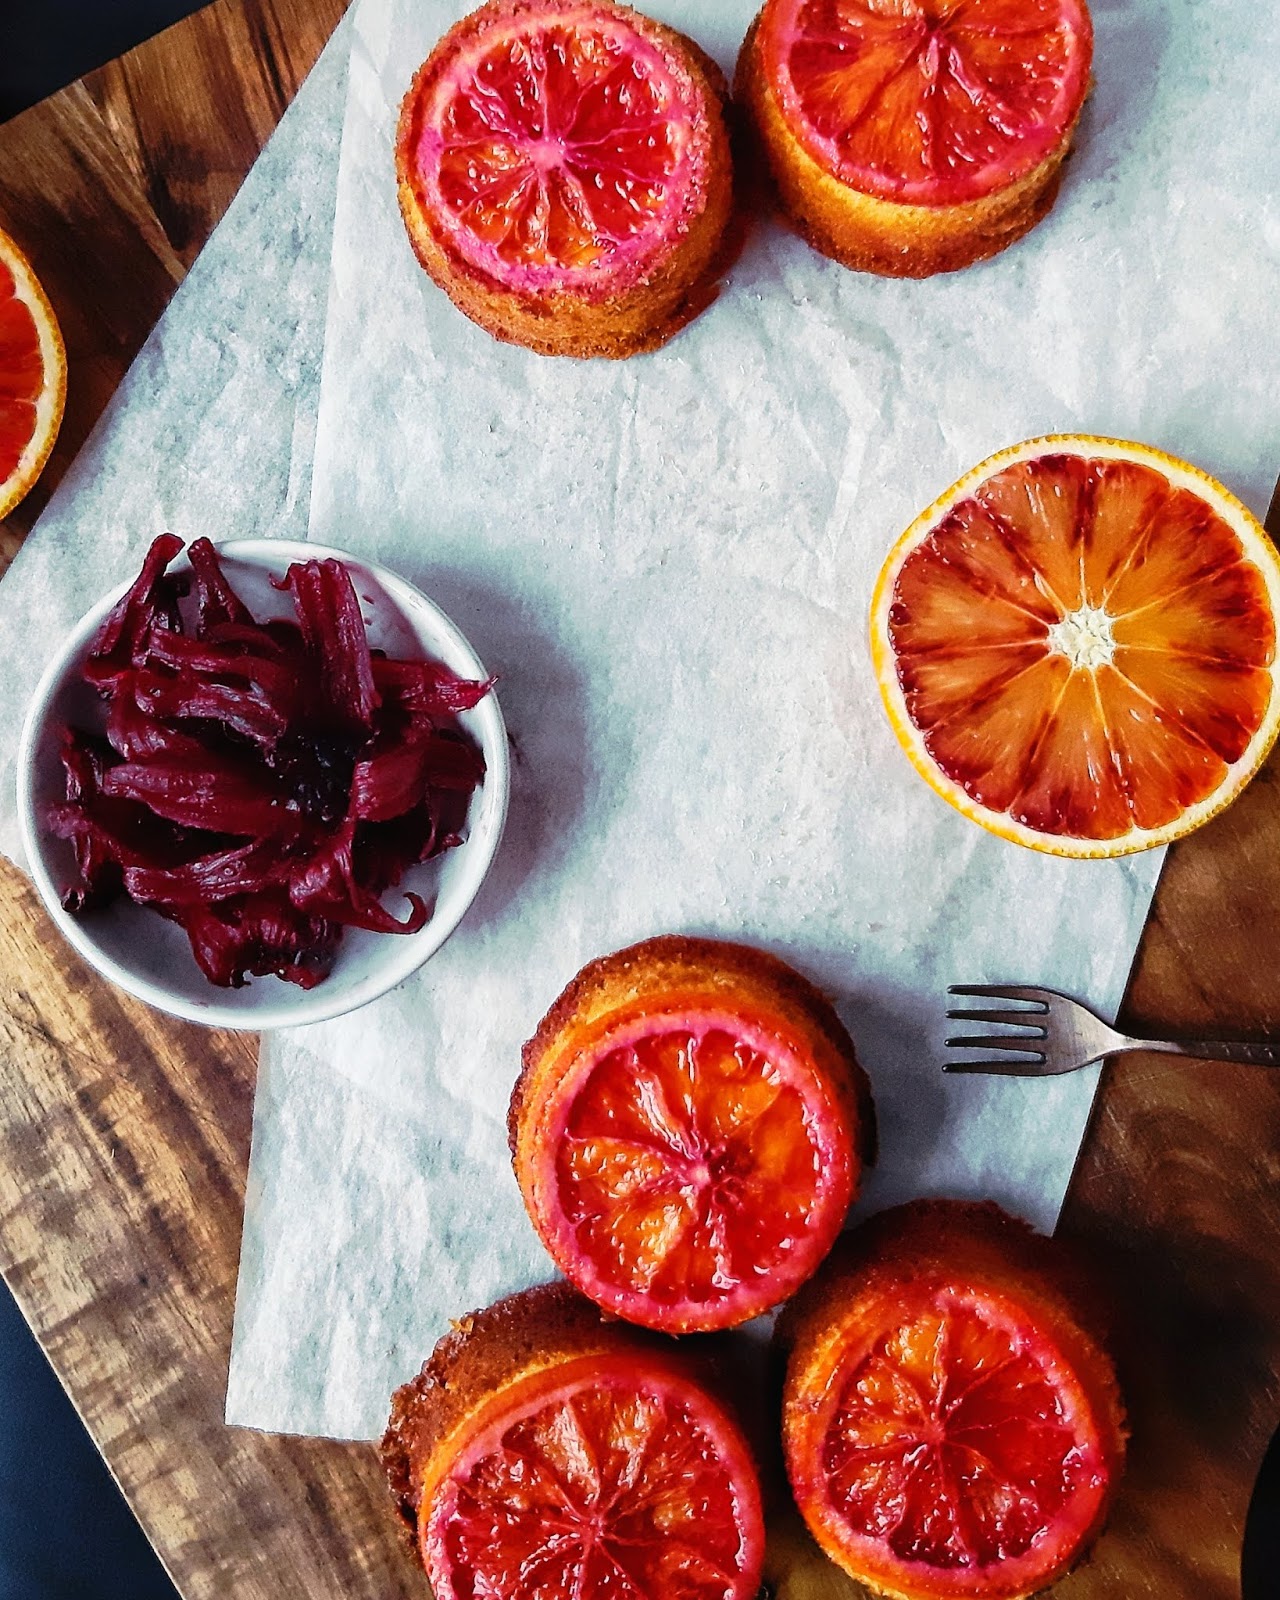
When I was in Haarlem last weekend I found these beautiful pink blush gooseberries. Not too dissimilar in taste from their green cousins though with perhaps a more red berry sweetness.
In Dutch the gooseberry is kruisbessen which literally translates to 'cross berry'.

I took to Instagram to ask what I should make and one of my favourite people suggested a Gooseberry Meringue Tart. Inspired by this choice I got cooking and I made this tart and it is gooooooood!!!!
Usually I make my recipes a few times before I post them to tweak the recipe but I really wanted to share this. It's cobbled together from a few other recipes that I tweaked here and there for what I had available and I can't lie and say it went perfectly smoothly but in my defence juggling baking with a four month old you're bound to get distracted! Still it tastes bloody good and most importantly no soggy bottoms! I did find the method for the curd very time consuming and I have since found recipes for curd made directly in a pan but until I have time to try them I won't recommend them purely because if they go wrong I don't want you to blame me! The risk of making the curd directly in a pan is that there is a far higher chance of the eggs cooking too quickly and you ending up with fruity scrambled eggs.
Curd is a great way of preserving fruit when you have a glut of it but have had enough of jam. The most common type that everyone will have heard of is lemon curd. Curd is a combination of eggs, butter, sugar and fruit usually with some lemon juice and occasionally some cornflour thrown in to stabilise it. It's generally tart and creamy and should feel quite silky in your mouth. If you make a batch you can use it straight away in a tart like this or keep it in sterilised jars in the fridge and it should keep for a few weeks unopened.
As well as using in this tart you could use this gooseberry curd as a filling in a victoria sponge cake or to flavour buttercream or swirled into some Greek yogurt and granola for breakfast. It's incredibly versatile.
My pastry is adapted from Paul Hollywood's sweet pastry in his 'How To Bake' book. Pastry is my nemesis. It usually ends up ok but it never works how it is supposed to. The last two times I've made pastry it's stuck to the greaseproof when I was blind baking it which has required a patchwork quick fix. This time broke the cardinal rule and my butter was warm because I forgot to chill it again after getting it out for the curd. I suspect it was due to this that the dough was then very sticky and didn't require all the egg that Hollywood says to add. I've changed the whole egg to just an egg yolk in the recipe as you will have four to spare from needing the egg whites for the meringue. If you feel your pastry needs more liquid add another one of the other remaining egg yolks.
I used an Italian meringue on top. It's definitely my favourite meringue to make. Don't be daunted by the hot sugar syrup just be careful of it! This meringue is marshmallowy, very stable and because of the hot sugar syrup it is safe to eat straight out of the mixer. Try to leave some for the topping!
The reason I call this a tart not a pie is that generally pies are baked as one and served warm where as this is assembled cold and served cold. To be honest call it what you will, pie or tart, I've called it both whilst making it but most of all I call it yummy!
In the interest of saving mine, and the husbands, waist lines a little and to get some impartial reviews I gave a BIG slice of this to our upstairs neighbours. They sent us the cutest video of their daughter saying thank you it was yummy which made my day. So you don't just have my word for it!
If you want to see some of the steps in the making of this tart check out my highlighted stories on my Instagram page @cooknoevilchef

GOOSEBERRY MERINGUE PIE
Makes 1 23cm Pie
Ingredients
Curd
350g Gooseberries
2 tbsp Lemon Juice
90g Butter
315g Caster Sugar
3 Large Eggs
Pastry
165g Plain Flour
25g Ground Almonds
120g Unsalted Butter, chilled and cut into cubes
55g Caster Sugar
2 Egg Yolks
1 tsp Milk
Italian Meringue
4 Large Egg Whites
225g Sugar
100ml Water
- First make the pastry. You can do this by hand by rubbing the butter into the dry ingredients but honestly its quicker and easier in the food processor. Put all the ingredients except the egg yolks and milk into the food processor and pulse until it resembles breadcrumbs.
- Add one of the egg yolks and pulse until it begins to come together. Tip it out onto a floured work surface and bring together into a flat disc. Wrap in cling film and chill whilst you make the gooseberry curd.
- Trim and wash the gooseberries and place in a pan with the lemon juice. Cook over a medium heat, stirring often, until the berries break down. Remove from the heat and pass through a fine sieve.
- Put the gooseberry puree, sugar and butter in a heatproof bowl over a pan of simmering water. Stir until the butter has melted and the sugar is dissolved.
- Remove the bowl from the heat and allow to cool until you can comfortably put your finger in it. If it is any hotter when you pour in the eggs they would scramble.
- Whilst the fruit mix cools break the eggs and beat together. Pass the eggs through a sieve. Pour the sieved eggs into the fruit mix and, stirring constantly, put the bowl back over the pan of simmering water.
- Stir until the mix thickens and reaches at least 75°c. It should be able to coat the back of the spoon and when you run your finger through it it doesn't run back together. This will take some time but be patient.
- Remove from the heat and allow to cool. Cover with clingfilm, pressing the clingfilm so that it touches the surface of the curd. This stops it developing a skin.
- Whilst the curd chills remove the pastry from the fridge and roll out on a well floured work surface to about 3mm thick.
- Use the pastry to line a 23cm loose bottomed fluted flan tin with the pastry slightly overhanging the edge to allow for any shrinkage when baking. Don't worry if the pastry breaks or tears as you can patch any holes with spare pastry. Ensure that you have maintained the general thickness of the pastry and pressed the pastry into all the flutes around the edge.
- Prick the base with a fork (this helps to prevent the pastry ballooning up whilst baking) and then chill for at least 10 minutes.
- Put a baking tray in the oven and preheat the oven to 180°c.
- Remove the pastry lined tin from the fridge. Scrunch a sheet of baking paper and then unfold and place over the pastry and fill with baking beans (scrunching the baking paper means that it fills the case much better. If you don't have baking parchment you can use foil but place it shiny side down and don't bother with scrunching it first)
- Beat the remaining egg yolk with the teaspoon of milk and set to one side.
- Bake the pastry for 15 minutes on the baking sheet. Take the case from the oven and remove the baking parchment and baking beans. Brush the base and half way up the side of the pastry with the egg yolk and milk mix and return to the oven for a further 10 minutes until the pastry is golden. NOTE - If for some reason your pastry sticks to the baking parchment like mine did you can patch any holes with either the stuck pastry or use any leftover dough. Return to the oven uncovered for 2 minutes before brushing on the egg wash and finishing its bake.
- Place on a wire rack to cool. Trim away any over hanging pastry with a sharp knife.
- For the Italian meringue combine the water and sugar in a pan (it is best not to use a non stick pan for this) and slowly bring the heat up to medium. Don't be tempted to stir as this can cause the mixture to crystallise instead swirl the pan and use a pastry brush dipped in water to brush down any sugar crystals.
- When the sugar has dissolved bring up the heat to high and boil until the syrup reaches 120°c.
- Whilst the sugar syrup is heating place the egg whites into the bowl of your stand mixer with the whisk attachment and beat until they reach stiff peaks. You could also do this using a hand mixer but you need to be very careful when you get to the next step.
- As soon as the sugar syrup reaches temperature pour it into the egg whites in a slow steady stream with the whisk running (the 2 setting on a KitchenAid). Aim for a spot between the bowl and the beater to avoid it sticking to the bowl or splashing you.
- When all of the sugar has been added continue to whisk, increasing the speed (the 6 setting on a KitchenAid) until the sides of the bowl feel cool to touch.
- To assemble pour the curd into the pastry crust and smooth the surface. Pile the meringue on top and using a palette knife spread it out to cover all the curd and swirl attractively. If you have a blow torch you can then toast the meringue all over until it is golden brown and caramelised or pop under the grill for 10 minutes or so (just mind to watch it until the grill as any peaks on your meringue can catch quite quickly. If that happens don't worry it just adds character!)
- To serve remove from the flan tin carefully and place on a serving dish. This does keep well in the fridge for a day or two although the meringue will weep slightly.


For more images of my cooking adventures follow me on Instagram @cooknoevilchef

Comments
Post a Comment